Materials List:
Paper
Pencil
Ruler
Fabric
Lining/pocketing
Petersham ribbon
Thread
Instructions:
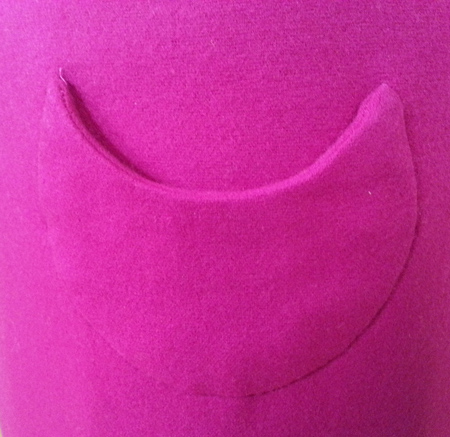
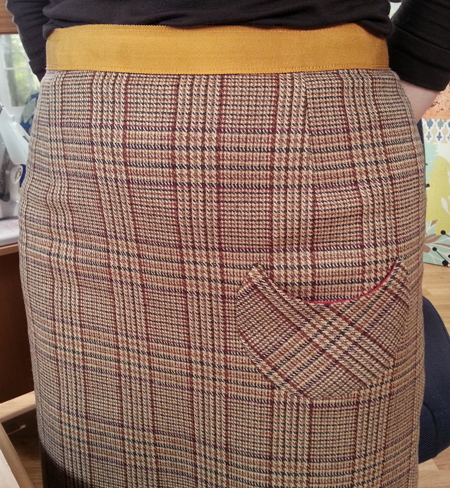
1. Pick a shape that you would like to use for your pocket and sketch it out. For a circular pocket, you can use a circular object like a salad plate or saucer. For a half moon shape, you'll need to position the circular object over the top portion of your previously drawn circle and draw a half circle to cut off the top.
2. If needed add seam allowances. Cut out the newly drafted pocket piece and establish the grainline. To establish the grainline, fold the pocket in half, matching up the edges. The fold line will now become the new grainline. From this point you can also establish a bias cut grainline if you want to play with plaids or checks.
3. Cut your newly drafted pocket from your fabric. You'll need one shell piece and one lining or pocketing piece.
4. Stitch your pocket with right sides together leaving a 2 inch opening along the bottom of the pocket. Trim seam allowances if needed and clip or notch your curves.
5. Turn pocket to the right side. Press.
6. To apply pocket to garment, position the pocket where you want it and temporarily pin in place. Drape the garment over a curved object like a tailor's ham and repin in place. This allows for the natural curve of the body and prevents distortion in the pocket area. Slipstitch in place by hand or edgestitch the pocket in place by machine.
For more information visit: www.afashionablestitch.com
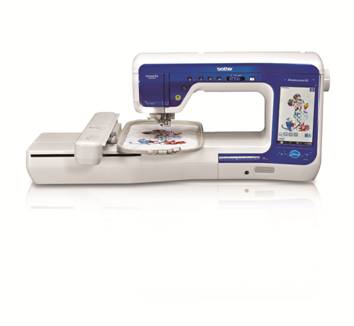
Sewing Machine Featured in this Segment:
Innov-is VM6200D Dreamweaver XE
With Zig Zag “J” Foot and Blind Hem Foot
|