Free-Motion Quilting Tips
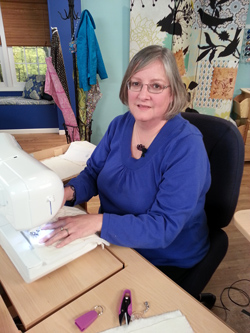
Rebecca Kemp Brent For more information visit www.rkbrent.com
- Practice on sample sandwiches of batting between two pieces of muslin, so there's no stress about making a mess of a pieced block you love. Cut the pieces 12" square; make two or three.
- Choose a thread you're familiar with – one you know works well with your machine – to take thread questions off the table while you're learning. Save specialty threads, different thread weights, etc. for later experiments.
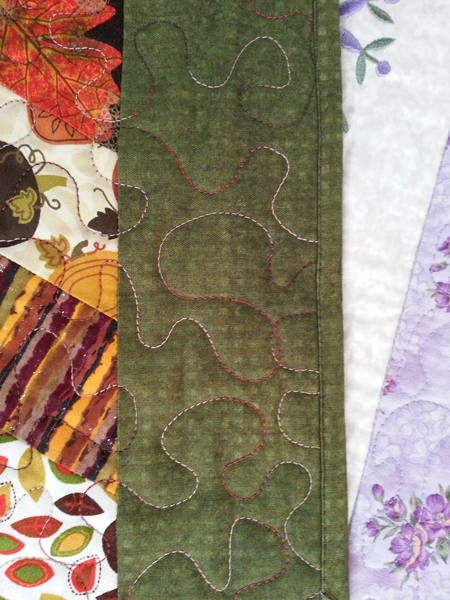
- Working with a thread that matches your fabric will help your stitches blend into the background while you're practicing – or even after you've become a confident quilter!
Machines require differing set-ups for free-motion work, so be sure you check your owner's manual for specifics. The following tips are general guidelines.
- Cover or lower the feed dogs for free-motion stitching, so you'll be able to control the fabric movement without fighting the feed dogs.
- You DO need a presser foot. Free-motion feet don't look like regular presser feet because they don't help move the fabric; their only function is to hold the fabric against the throat plate at the moment when the stitch is forming.
- Choose a needle with a sharp, or regular, point – not a ballpoint. Specialty quilting needles are available that protect threads as they pass through the extra layers. Start with a size 11 or 12; use a 14 if there are lots of seam allowances to stitch through or if you're getting skipped stitches.
- A straight stitch is the right selection for free-motion work, so the needle just moves up and down. The stitch length does not matter.
- Experiment to determine whether you need to adjust the tension setting on the needle thread; if you see bumps of bobbin thread on the top of the fabric or if the bobbin thread pulls to the top on curves, you'll need to loosen the tension. If you see the same effects on the underside, tighten the tension slightly.
The Free-Motion Quilting Process
- Place the fabric sandwich under the needle and lower the presser foot. This is easy to overlook, but vital.
- Pull up the bobbin thread and start sewing while grasping both thread tails.
- It's okay to stitch slowly! The important thing is to coordinate hand and foot (the pedal and needle) speed: if the machine is moving slowly, your hands should be, too.
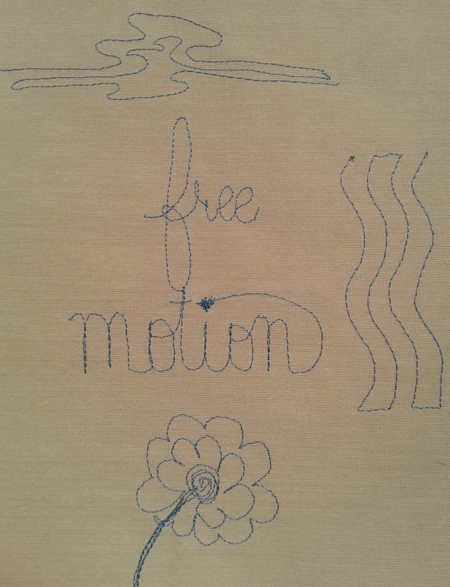
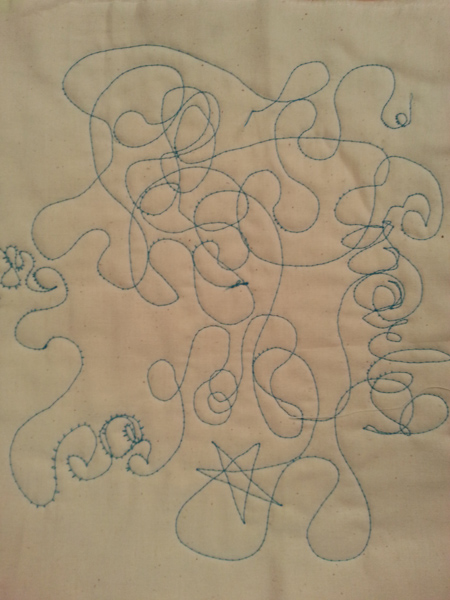
- To practice, try a variety of motions. Work in gently loops, like practicing cursive E's. Move the fabric back and forth to make sharp corners; pausing at each corner to take an extra stitch in place helps keep the corners sharp. Make flowers and stars to practice making loops and zigzags. Try writing your name.
Securing Thread Tails
If possible, plan your quilting to begin and end at an edge so tying off is unnecessary. If you do need to tie off, make about 1/8" – 1/4" of tiny stitches by running the machine fast while moving the fabric slowly. There are other methods, but this is the simplest. You can use it at the beginning of a line of quilting stitches, too. Sewing Machine Featured in this Segment:
Innov-ís NX2000 Laura Ashley® Limited Edition Sewing Machine
With Open Toe Quilting Foot

|