| |
www.itsseweasytv.com |
| 509-2 | Print | Close [X] |
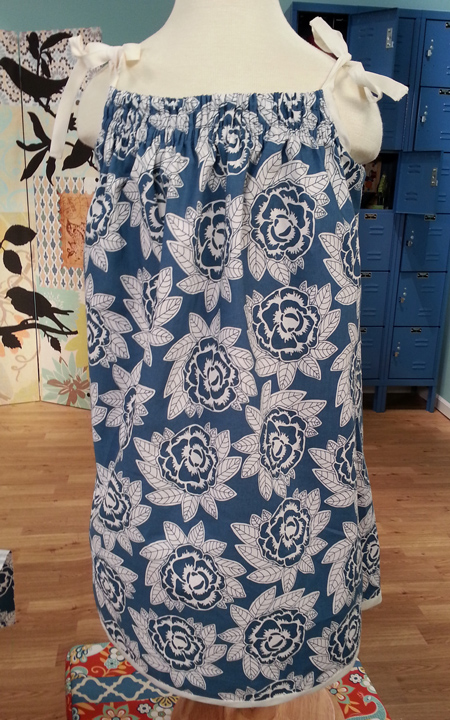
Melissa Stramel shares her signature faux smocking technique using bias tape rather than traditional shirring. Watch the video for this project online at: |
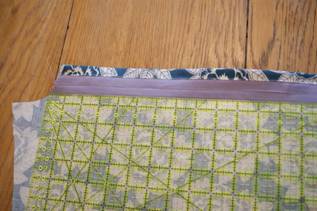
For More Information Visit: |

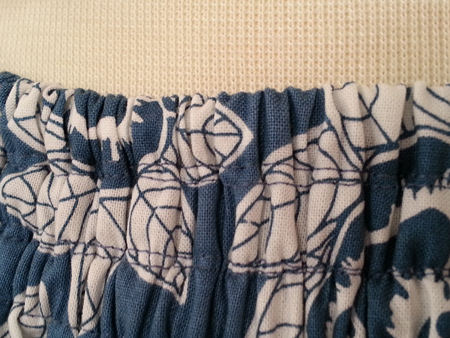
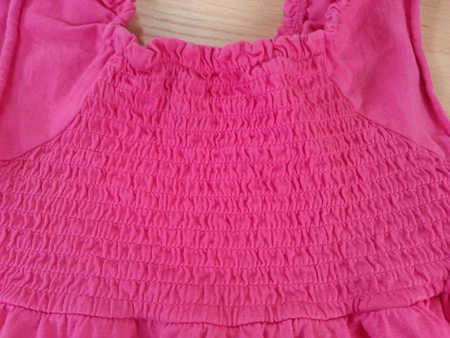
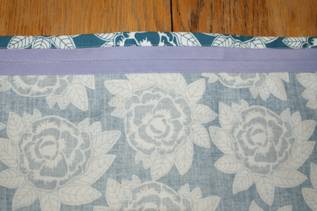
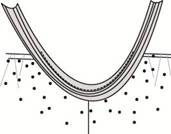
Faux Shirring You will need: 1. Cut out the pattern according to pattern instructions. For the attached pattern, please note that seam allowance is already included in the pattern pieces. 2. Finish the top edge of the garment as indicated by the pattern. If it is straight across, like this pattern is, you will need to create a ½” casing for elastic. This is simply done by turning under and pressing a scant ¼” and then ½”. If you are using a pattern with a curved neckline, you may need to apply bias tape around the neckline instead of turning it under. 3. Edge stitch along the edge of this casing. 4. Place a first row of bias tape across the area to be shirred. Butt the top edge of the bias tape against the bottom edge of the casing created in step 3. Please note that you should use coordinating bias tape, but purple was used here to demonstrate the technique. Edge stitch both the top and the bottom of the bias tape, leaving the ends open. 5. Repeat with another row of bias tape. Keep making these casings until all the area meant to be shirred is filled with them. The attached pattern only utilizes 3 rows of shirring.
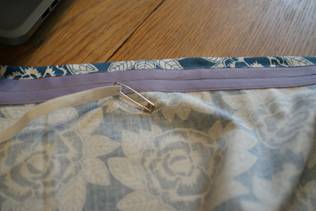
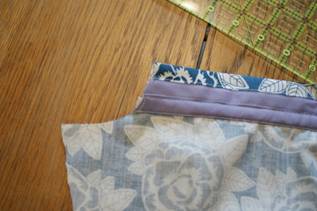
6. Carefully measure each row of casing that you created. As this garment is shirred throughout the armhole region, each row is longer than the one before. 7. Cut elastic exactly ½ the length of each casing. 8. Thread elastic through the casings. A safety pin on each end of the elastic will help you maneuver the elastic through the casing and catch the end so that it won’t pull all the way through. Sew ends into the casing.
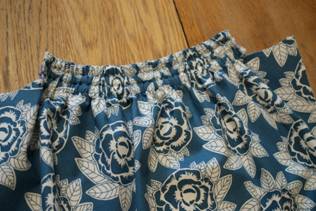
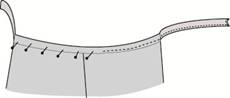
9. Finish the garment as indicated in the pattern. The remainder of instructions here will pertain to the attached pattern. 10. Sew side seams and finish the seams. 11. Cut 2 pieces of bias tape, each 34” long. Open up the tape and press each end under ½”. 12. Find the center of the bias tape. Pin to the side seam at the inside of the dress. Make sure to first fully open the bias tape. 25. Stitch along the first fold of the bias tape from one edge of the armhole to the other. 27. Hem the dress by turning under ¼” twice and edge stitching OR by adding bias tape as a decorative finish. To find a similar pattern in sizes 2T-10, please visit LilacLanePatterns.com and look for Sweet. Written by Melissa Stramel. Please e-mail her at lilaclanepatterns@gmail.com with any questions.
Sewing Machine Featured in this Segment:
|


Host: Melissa Stramel |

| Copyright © 2015 It's Sew Easy. All Rights Reserved. |