Materials
1/8 yd each of four 45"-wide cotton fabrics for pillow front
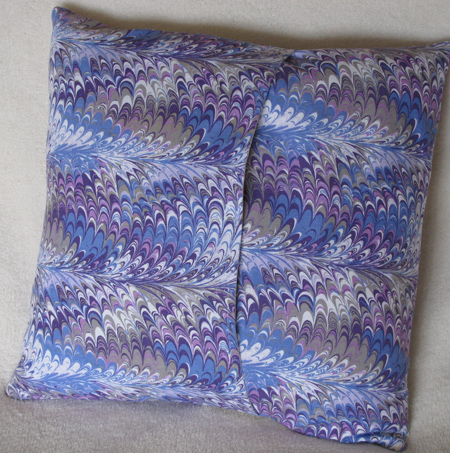
1 fat quarter or 3/8 yd of 45"-wide cotton for pillow back
5/8 yd of muslin for lining
One 18" square of batting (such as Warm & Soft)
Dual Duty XP All-Purpose thread
One 16" pillow form
EZ QuiltingCompanion Angle ruler*
Pattern(PDF)
* If you don't have the ruler, print the pattern PDF and use it to cut the triangles. Be sure to set the scaling option to None when printing the pattern with Adobe Reader.
Cutting
From each of the pillow-front fabrics, cut:
2 strips, 1 1/2" x width of fabric
From the pillow-back fabric, cut:
2 rectangles, 16 1/2" x 10 1/2"
From the muslin, cut:
1 square, 18" x 18"
2 rectangles, 16 1/2" x 10 1/2"
Instructions
Seam allowances are 1/4".
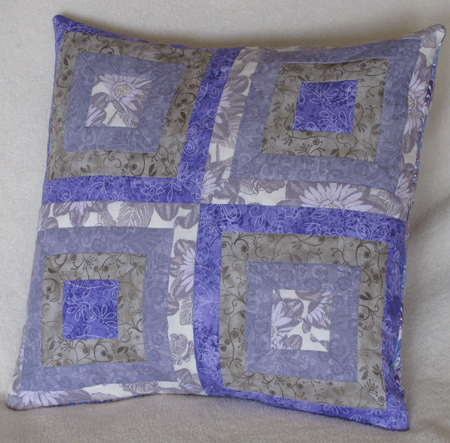
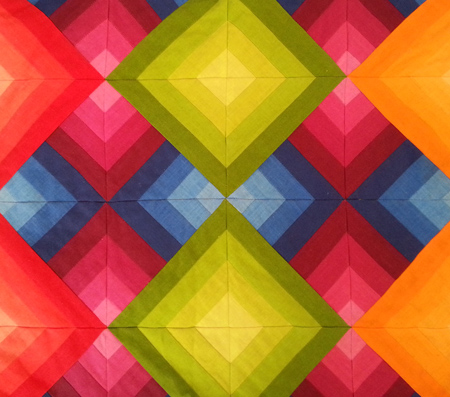
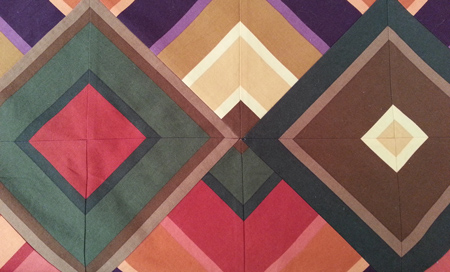
1. Sew the 1 1/2" strips together to make two identical strip sets. Arrange the colors so the darkest fabric is on one side of the strip set and the lightest color is on the other side; a strict color gradation isn't necessary, but generally arrange the colors from darkest to lightest. Press the seam allowances in one strip set toward the lightest strip, and the others toward the darkest strip.

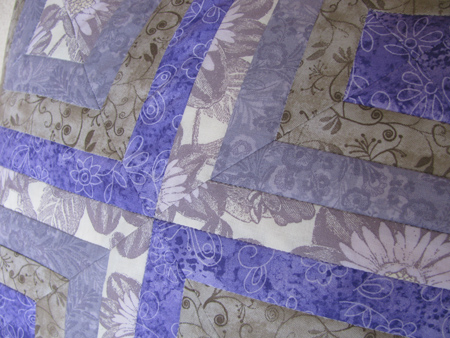
2. Use a triangular ruler to rotary cut each strip set into eight triangles as shown. Separate the triangles into groups with the same color along the base of the triangle.
3. Sew two triangles from the same group together along one short edge, matching the seamlines. Press the seam allowances open. Make four identical pairs.
4. Sew two Step 3 units together to make a square, matching the seamlines, and press the seam allowances open. Make two.
5. Repeat Steps 3 and 4 to make two square blocks from the second group of triangles.
6. Sew a block from the first group to a block from the second group; make two. Sew the pairs of blocks together to make the pillow top, alternating the block placement.
7. Center the pillow top, right side up, on the batting and muslin square; baste the layers together with pins. To quilt, stitch in the ditch along the strip-set seamlines, making a pattern of concentric squares. Trim the muslin and batting even with the pillow top edges.
8. Place a muslin rectangle on a pillow back rectangle, right sides together, and sew along one of the 16 1/2" edges. Turn the muslin to the fabric wrong side and press the seam. Topstitch 1/4" from the seamline, using a decorative stitch if desired. Make two.
9. Position the pillow backs on the pillow front, right sides together, matching the raw edges. The pillow backs will overlap at the center. The pillow backs may be slightly larger than the pillow front due to shrinkage from quilting; just trim the backs to fit. Stitch around the entire outer edge.
10. Turn the pillow right side out through the opening in the back and press. Insert the pillow form through the opening.
For more information www.rkbrent.com
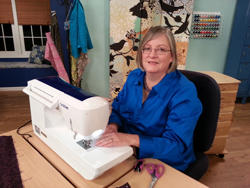
Sewing Machine Featured in this Segment:
Quattro 2 – 6700D - Sewing, Quilting, Crafting and Embroidery Sewing Machine
With ¼” Quilting Foot
|