Play Mat Pillow
Designed by Vanessa Vargas Wilson (Crafty Gemini)
www.craftygemini.com
Materials & Supplies:
• 23” x 37” of fabric for play mat side
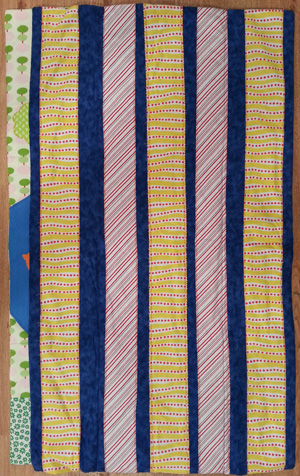
• 23” x 37” of backing fabric
• 24” x 38” piece of low loft batting (cotton or poly blend will work fine)
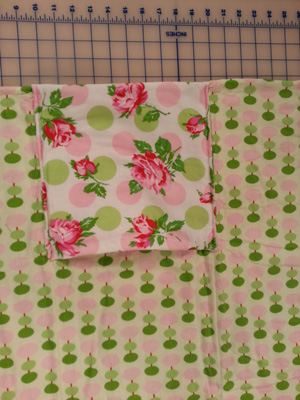
• Two 11” x 11” fabric squares for pillow pocket
• One 12” x 12” batting square for pillow pocket
• Paper backed fusible web to create appliqués
• Scrap fabrics of all kinds- solids, prints, novelty, etc.
• Brother ScanNCut
• Rotary cutter + mat
• Scissors
• Clear quilting rulers
• Iron + ironing board
• Spray starch (optional)
• Fabric safe marking pen or marker
• Pins
• Coordinating thread
• Walking or dual feed presser foot {optional, but recommended}
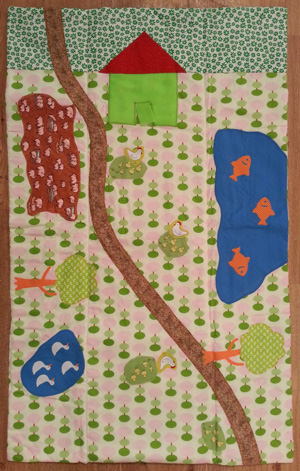
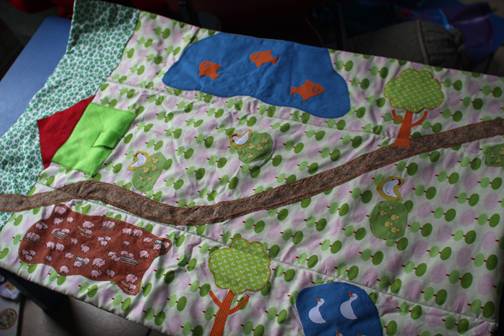
Designing play mat:
- Take the 23” x 37” piece of fabric for the background of the play mat theme and embellish it anyway you’d like. Think of a fun theme and go with that!
- To create the appliqués for your mat design here are a ton of things you can do. Some examples are:
• Use an electronic die cutting machine like the Brother ScanNCut to cut out pre-loaded or scanned in shapes from the machine’s memory.
• Fussy cut images and shapes out of novelty and/or print fabrics.
• Cut images out free hand with a pair of scissors.
Creating pillow pocket:
- Lay the 12” x 12” square of batting down. Lay one of the 11” x 11” squares on top with the pretty side of the fabric facing up. Place the other 11” x 11” square on top with the pretty side of the fabric facing down.
- Pin all around the sides. With a fabric pen mark a 3”-4” line on one of the sides. This will be a reminder to leave the area un-stitched when you are at the sewing machine.
- Use a ¼” seam allowance and sew around all four sides except the space you marked in Step 2. Be sure to backstitch at the beginning and at the end of your stitches.
- Trim any excess batting from sides and trim corners to reduce bulk.
- Turn right side out through opening and give it a good press. Tuck in fabric and batting edge at opening and press again.
Assembly:
- Fold backing fabric in half lengthwise and press to create a crease. Repeat for pillow pocket. Lay pillow pocket center crease line on top of the backing fabric’s crease so one side of the pocket is flush with one short edge of your backing fabric. Pin in place. Stitch along the edge of pillow pocket that is touching edge of backing fabric using a 1/8” -1/4” seam allowance.
- Lay the 24” x 38” piece of batting down on table. Lay play mat side with the pretty side of fabric facing up. Then lay the backing fabric on top with pretty side facing down.
- Pin all around. With a fabric pen mark a 5”-6” line on one of the sides. This will be a reminder to leave the area un-stitched when you are at the sewing machine.
- Use a ¼” seam allowance and stitch all the way around all four sides except on the opening you left. Remember to backstitch at the beginning and end of your stitch line.
- Trim excess batting and clip corners to reduce bulk.
- Turn right side out and press. Tuck edges in at opening and press again.
- Make sure pocket flap is flipped towards the backing. Pin in place.
- With a ruler and fabric pen measure and mark two lines across the backing (lengthwise) so the lines cross through the pocket at ¼” in from the side edges. These will be your stitch lines.
- With the walking foot or dual feed foot on your machine stitch on the two lines you marked making sure to backstitch at the beginning and end of the line and also right at the top of the pockets for extra security. This area will get a lot of wear & tear and you don’t want the pocket to come apart.
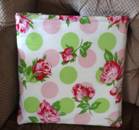
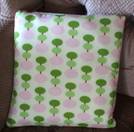
Folding into pillow
- Lay play mat side up and fold in the two sides on stitch line creases.
- Fold everything in half and then in half again until you end up with an accordion looking stack of fabric. The pocket should be on the bottom of the stack.
- Reach into the pocket and flip bulk of mat into pocket by pulling it all through the pocket as you pull.
- Adjust for even distribution and that’s it!
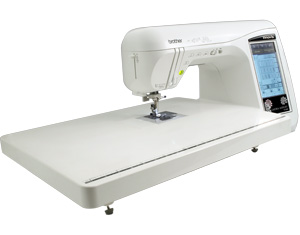
Sewing Machine Featured in this Segment:
Brother Innov-ís NX2000 Laura Ashley® Limited Edition Sewing Machine
|