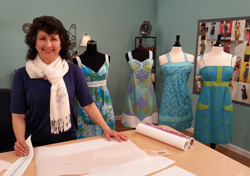 
Dress Up With Decorative Stitches- Joanne Banko
Whether creating dresses from scratch or adding to ready-to-wear, it’s easy to embellish dresses with decoratively stitched bands. Create a variety of decoratively stitched bands to transform sundresses and other dress styles, even the little black dress. You can decorate dress for all seasons. Select patterns that feature separate bands for the hemline, waistline, pocket tops and more. Stitch multiple rows of your favorite decorative stitches such as the candlewick style stitch featured here. You can even create your own stitches on Brother model machines with the My Custom Stitch™ feature. Visit Brothersews.com to download FREE design coordinates for stitches such as the candlewick style stitch featured on these dresses.
Materials and Supplies:
- Commercial Dress Pattern featuring inserted bands at the waist, hemline, or other focal points such as sundress straps or pocket bands.
- Fabric for contrasting bands, purchase coordinating solid fabric as per pattern requirements. Purchase fabric that will not compete with your dress fabric. I like to find a light color that is part of the print and use that for my featured contrasting fabric. Tip: You may want to cut out your pattern pieces and take them shopping with you as you look for fabric. Be sure to purchase enough for an added margin around the pattern along with some extra yardage for testing.
- Sewing machine presser foot suitable for sewing decorative stitches. NOTE: Some of these sample dresses are stitched using the Brother Special Candlewick Foot and candlewick style stitches.
- Embroidery thread for top and bobbin. Tip: Select thread colors that coordinate with the colors in your printed dress fabrics for an upscale, custom look.
- Removable fabric marker. Test your marker and remove marks before pressing if necessary.
- Interfacing to stabilize the fabric bands. I prefer interfacing that does not significantly change the character of the fabric. See my resource list for details.
- Additional stabilizer such as a wash away, heat away, or tear away type. Choose a stabilizer that is appropriate for your fabric and determine if this stabilizer needs to “disappear” when you are finished. A light weight tear-away works well for many fabrics, especially when the wrong side of the fabric will not show. I used Brother Pacesetter® Medium Weight Tear-Away, Pacesetter® Lightweight Water Soluble, and Pacesetter® Lightweight Adhesive-Backed Water Soluble Stabilizer on the various sample dresses.
Instructions for Creating Decoratively Stitched Bands:
Step 1. Select the pattern pieces you wish to use for the embellished bands. Look for pattern pieces that are designed for inserting as a separate band, such as the featured waistband on the pattern below. See Figure #1. If the pattern is cut on a fold, trace and cut to create a full pattern. Cut a piece of contrasting fabric large enough to add a margin of approximately one inch all around the pattern piece. Fuse interfacing to the wrong side of the entire piece. Pin pattern on the fabric following the guide for the grain line. Trace the pattern outline onto the fabric. Remove the pattern and roughly trace the stitching line. Mark a line along the center of the piece. NOTE: This center line can be positioned horizontally or vertically, depending on how you want to stitch your decorative rows. In addition, if your pattern is curved you may want to mark the line following the curve of the pattern piece. You are the designer! Experiment with a variety of different directions for your stitching.
Figure #1

Step 2. Set up machine for sewing in the decorative mode. Be sure to use the appropriate presser foot. Thread top and bobbin with embroidery thread and use an appropriate needle.
Step 3. Beginning at one end, select your first decorative stitch and sew all along the center line from end to end. Continue to sew multiple rows from end to end working from the center outward. Align each row so they are evenly spaced, using the edge of the presser foot as a guide. Avoid stitching rows in the seam line area as the stitches will not show when your garment is constructed.
Step 4. After stitching your desired rows, remove markings and excess stabilizer. Press your finished band. Cut out the band using the actual pattern piece and complete your garment as per the pattern instructions.
Tips and Techniques for Dressing up with Decorative Stitches:
- As an alternative you can create a band for a ready-made dress. Use contrasting fabric and apply to areas described above. To make a pattern for your decoratively stitched band, simply measure the area on the dress you wish to cover and draw the measurements on paper or pattern tracing cloth. Allow extra for covering or turning under the raw edges and also for seam allowance.
- Test your stitches on scraps before sewing on your project pieces. Make a sampler of different stitches and use them as a reference guide. Many stitches look far prettier with thread and fabric than they do on the screen or in the machine manual. Mark down the stitch numbers as well as any helpful notes and save this sampler for future projects. Experiment with combining stitches, changing the size, using different width and length settings, and using mirror image options if available.
- Sew decorative stitches using a consistent speed, stitching a little slower than you would for “normal” stitching.
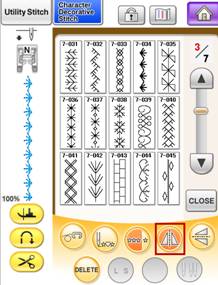
- If your machine includes the My Custom Stitch™ feature found on many Brother models, you can use it to create your own original stitches. See Figure #2. Visit Brothersews.com for stitch coordinates you can use to create a simple candlewick knot stitch as well as many other unique and special decorative stitches. See Figure #3. For Candlewick style stitches, use a Special Candlewick Foot to allow the stitching to flow under the foot.
Figure #2
 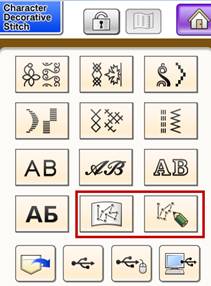 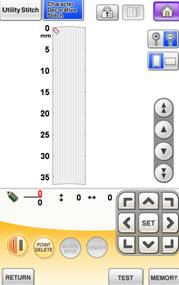
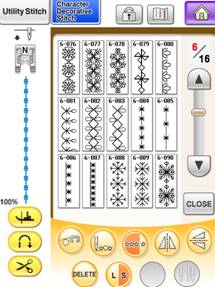
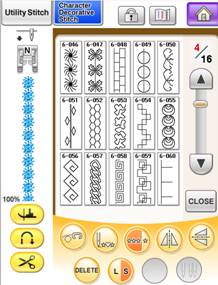
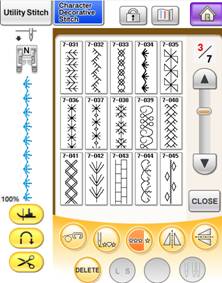
Figure #3

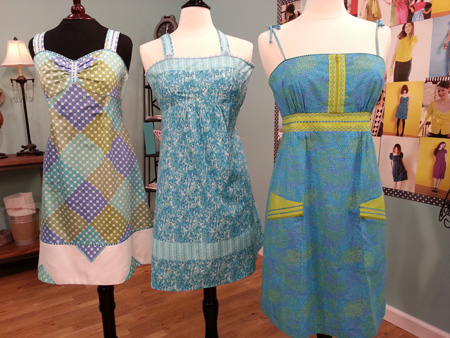
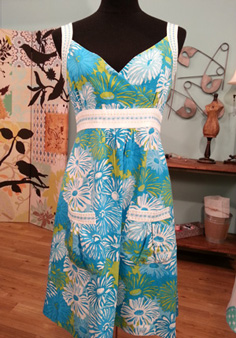
Some of the stitches featured on the sample sundresses are seen below:
Resources:
- For additional embellishment ideas visit the project and tutorial section at Brothersews.com.
- Visit your local sewing machine dealer for decorative threads and special machine accessories.
- Fusible Interfacings, All Bias Sof-Knit and Fusi-Knit Tricot, HTC Interfacings, http://htc-retail.com/
- Visit Joanne Banko at her website www.letsgosew.com for more tips, tricks, and special techniques.
|