DIRECTIONS: Using quarter inch seams unless otherwise noted throughout project.
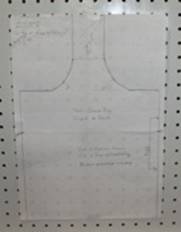 |
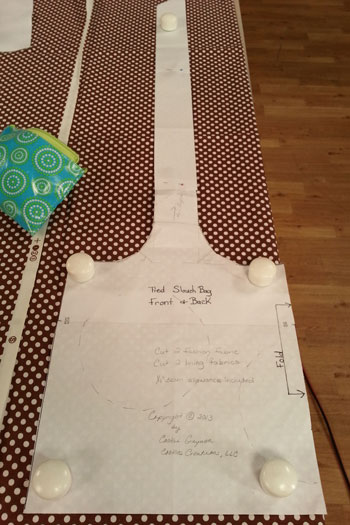
Download pattern, which is printed on two sheets. Match X box marking and tape together. The one piece pattern makes it simple! |
|
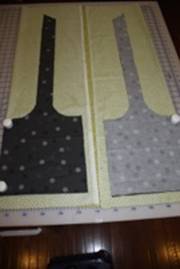
Lay out fabric as shown and cut out pattern. Cut two pieces from outer fabrics for front and back. Cut two with lining fabric. Note the lining will be visible on the straps so pick a lining you love! |
|
Apply fusible fleece to outer fabric (or a fusible interfacing) to outer fabric. Follow manufacturers directions to achieve a good fuse! |
|
Same process for liner if needed. Another option is to add an interfacing to the straps alone. |
|
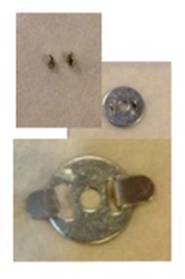
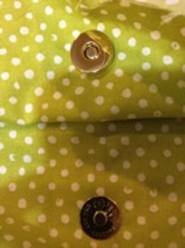
Optional: add magnetic closure to liner. Mark for magnetic snap placement using the prong backing as a pattern and do so 1” down from the top end. Insert magnetic snaps using your placement marks. Add a small pieced of batting folded in half through the prongs before bending them outward. The finished side of the magnets are on the right side of the liner. The prong is on the wrong side of the fabric. |
|
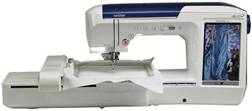
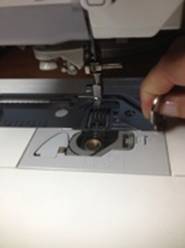
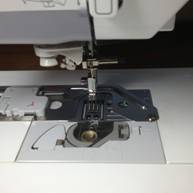
Following the manufacturer’s directions that came with the circular attachment to secure it to the sewing machine. |
|
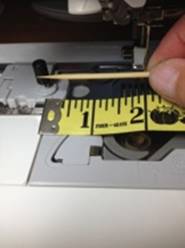
Determine the size circles you want to use. The distance from the machine needle to the pivoting pin should be half the diameter of the circle size desired. |
|
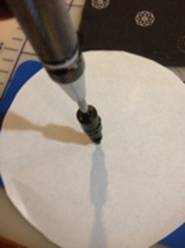
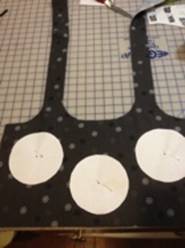
To create a specific pattern, position templates of the size circles you want over the fabric. Mark the center of each circle on the fabric before adding any embellishments.
An eyelet punch is handy for marking the center of the circles.
|
|
Templates are pinned to front and back outer fabric.
Prefer to be spontaneous? Create your circles as you go without a set pattern.
|
|
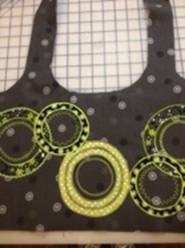
Stitch circles using the methods and feet shown in the 600 series segment.
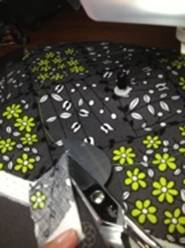
Large Circle uses: running stitch, Trim excess along outside of circle.
Settings for running stitch on sample: length between 2.5 mm and 3.0 mm |
|
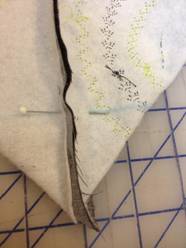
Note that the excess fabric was trimmed right up to the stitching line. Duck bill appliqué scissors make this easy to do. |
|
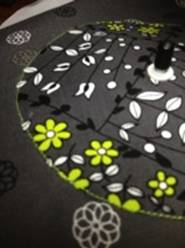
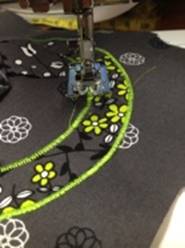
Cover raw edge with Zigzag or Decorative Stitch. Move attachment for inner circle size. Repeat process by sewing a running stitch and trim excess along inside edge of circle. Finish with Zigzag.
Settings for zig zag stitch on sample: length between 0.5 mm and 0.6 mm with the width varying from 3.5 and wider. |
|
Trim up front and back to ensure they match up and remove any distortion if needed.
Sew front and back sections of outer fabric with Right Sides together along side seams and bottom. |
|
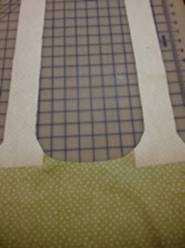
To create a flat bottom, fold bottom corners, seam to seam as shown. Measure 2 inches up from corner and mark a stitching line. Stitch across with the sewing machine. Do the same process on the other corner. |
|
Repeat the last two steps above for lining leaving 4” open, centered along the bottom seam line.
You now have two bags constructed. With right sides together, Place outer bag inside liner bag. Stitch the two together along the top and around the straps. |

|
Pull bag right side out through the lining opening. Use Fast Turn to pull the strap fabric through. Whip stitch by hand or machine stitch the opening. Press and top stitch around the bag and handles. |
|
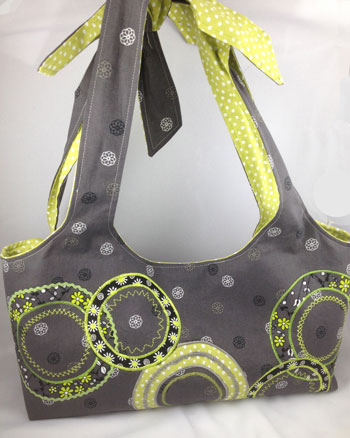
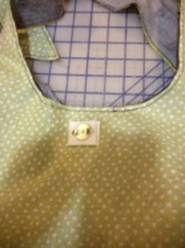
Enjoy how nicely your snaps line up.
Tie the shoulder straps into knots and you are good to go! |
|
|
 |
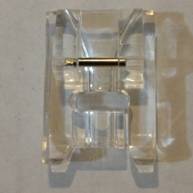
Circular Attachment - used with decorative feet to create beautiful circular designs including couching threads, appliqué, echo stitching and stylish decorative stitches. |
|
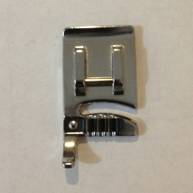
5 hole cording foot-7mm |
|
3 thread cord foot-7mm
|
|
Pearl foot-5mm
3-11 with medium weight yarn on Brother machine |
|
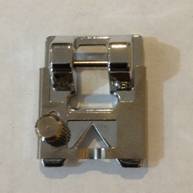
Adjustable Braiding foot -cording/ribbon
5.0 Width
3.0 Length |
|
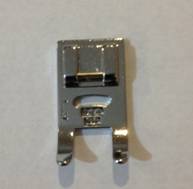
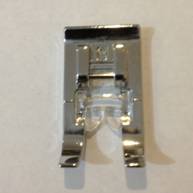
N Foot - Decorative
Zig Zag
3.5 Width
2.0 Length |
|
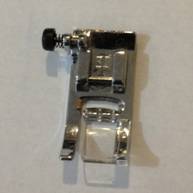
J General sewing foot with built in hump jump feature |
|
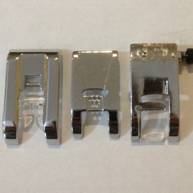
All feet are not interchangeable. From Left to right
N,5holeCord and J
J does not have a tunnel like groove on the exit. |