| |
www.itsseweasytv.com |
| 613-1 | Print | Close [X] |
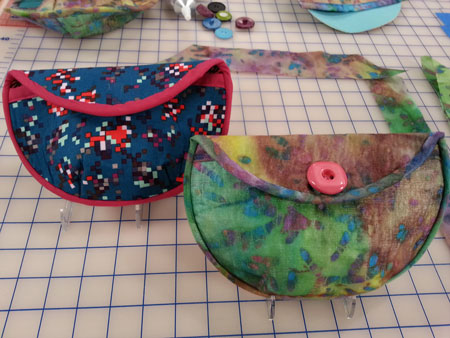
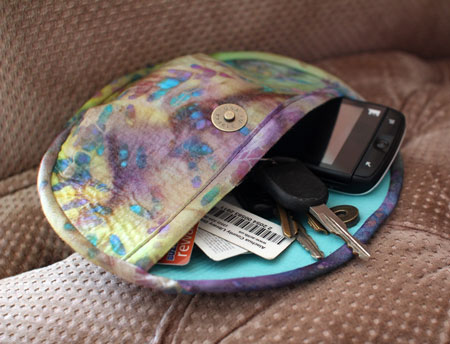
Clutch – Vanessa Vargas Wilson Watch the video for this project online at: |
For More Information Visit:
|

Host: Vanessa Vargas Wilson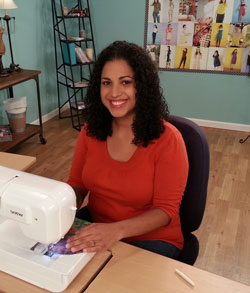 |
| Copyright © 2019 It's Sew Easy. All Rights Reserved. |