| |
www.itsseweasytv.com |
| 706-2 | Print | Close [X] |
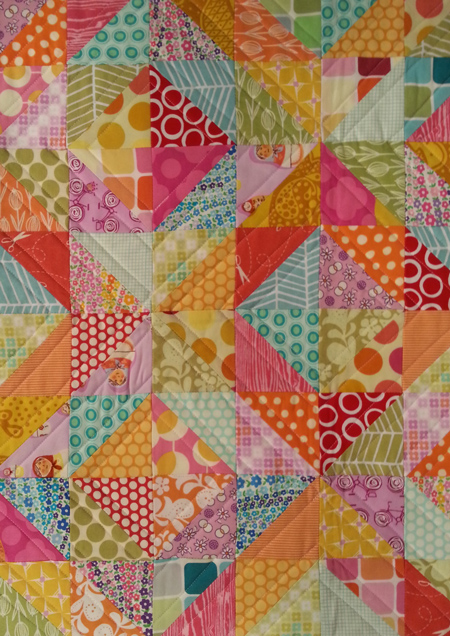
Jeni Baker demonstrates piecework on a smaller scale with a half square quilt perfect for beginners. Watch the video for this project online at:
|
For More Information Visit:
|
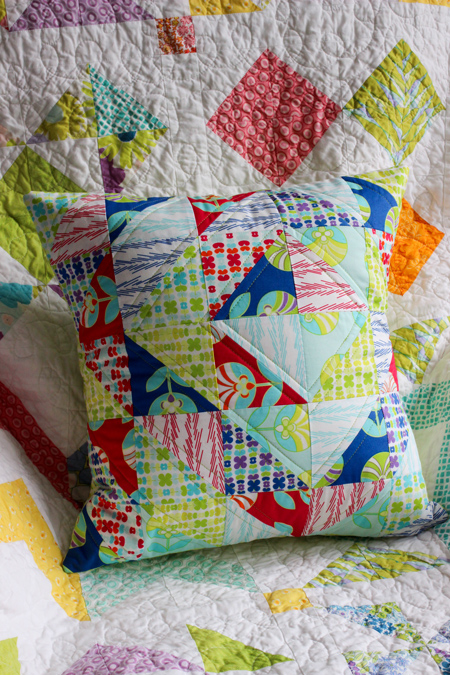


Half-Square Triangle Pillow Materials: Finished pillow: 15"x15" Cutting if using Traditional Half-Square Triangle Method From muslin fabric: From pillow backing fabric: Cutting if using Alternative Half-Square Triangle Method From muslin fabric: From pillow backing fabric:
Traditional Half-Square Triangle Method: 1. Place two 4”x4 print squares right sides together. 2. On the wrong side of one square, draw a line diagonally from one corner to another using a marking pen or pencil. 3. Sew 1/4” on both sides of the line. 4. Cut the square apart along the line. 5. Press seams open, you now have two half-square triangle units. 6. Trim down to 3.5”, lining the center seam up with the 45 degree angle line on your acrylic ruler. Alternative Half-Square Triangle Method: 1. Place two 6” print squares right sides together. 2. Starting on any side, sew 1/4” around all four sides. 3. Cut the square apart along the diagonal. Be careful not to let the pieces shift after cutting. Cut along the second diagonal, resulting in four pieces. 4. Press seams open, you now have four half-square triangle units. 5. Trim down to 3.5”, lining the center seam up with the 45 degree angle line on your acrylic ruler.
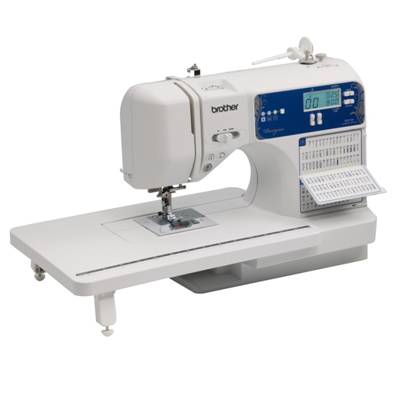
Pillow Instructions: 1. Make 25 half-square triangle units using desired method. 2. Arrange half-square triangle units into 5 rows of 5 units each. 3. Sew together units in each row. Press seams in one direction, alternating direction every other row. 4. Sew rows together to complete pillow top. Press seams open. 5. Layer pillow interior fabric, batting, and pillow top layers. Baste in place and quilt with desired pattern. 6. Trim away excess batting and pillow interior fabric. 7. Press both pillow backing pieces in half so create two 15.5"x9" pieces. Topstitch along both of the folded edges. 8. Pin one backing piece right sides together with the front of the pillow top, lining up the raw edges with the sides and top of the pillow top. Pin the remaining piece to the bottom of the pillow top, overlapping the first. 9. Stitch around the pillow top, securing the backing in place. Finish seams with a zig-zag stitch or serger. Turn and press. For more information visit www.incolororder.com Sewing Machine Featured in this Segment: |
Host: Jeni Baker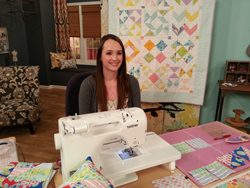 |
| Copyright © 2014 It's Sew Easy. All Rights Reserved. |