Embroidered Yoga Jacket
By Marie Zinno
Products Needed
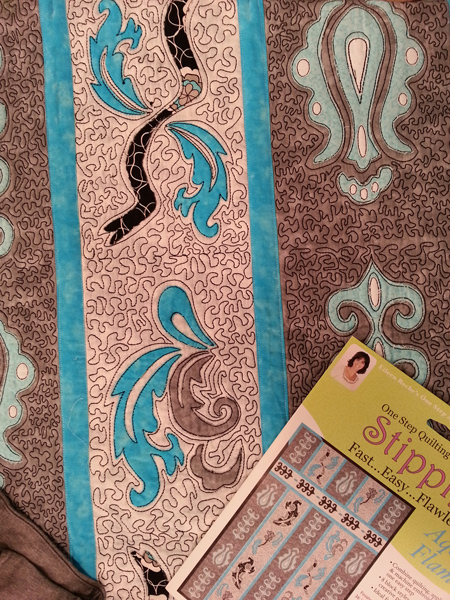
Stipple! Aqua Flame Embroidery Collection-Designs in Machine Embroidery Magazine Product #AF13
Embroidery Editing Software
Target Stickers-Designs Magazine Product
Fusible Poly Mesh Stabilizer
Water Soluble light weight stabilizer (topper)
Polyester Embroidery Thread
Paper templates-3 total
1 purchased full zip yoga jacket
Instructions
Step1.
Place the CD from Stipple! Aqua Flame collection in computer and open the files in embroidery software. Select “Designs” from list of choices; choose the embroidery file format needed (PES) for this project and select design#13.
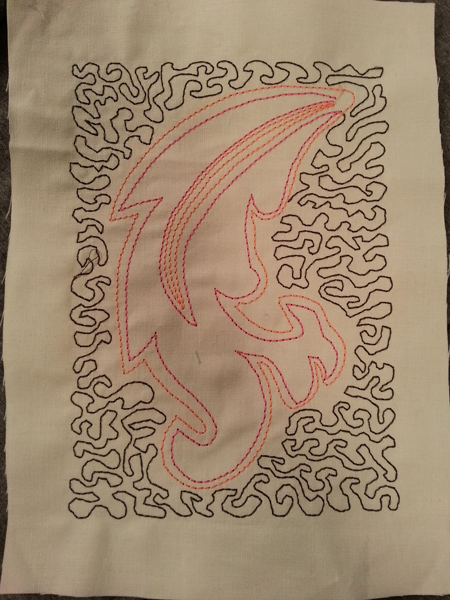
Resize the design to fit in a 5x7 hoop, 6.75 x 4.50. Save the embroidery design to a USB stick or send to directly to machine.
Step2.
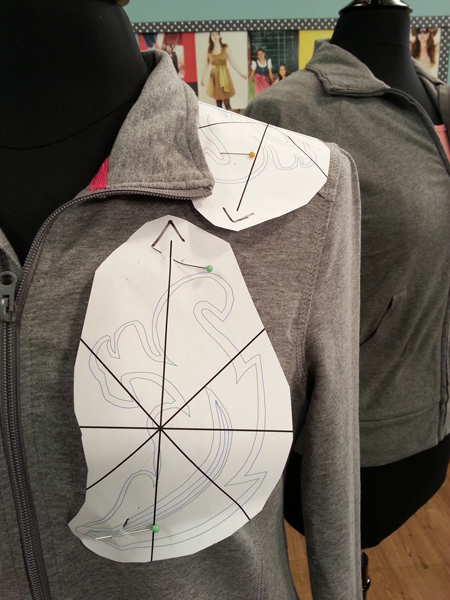
Print 3 templates of AF 13 from your embroidery software and draw an arrow at the top of the printed crosshair. The templates will be trimmed close to the design and the proper orientation is important when planning the layout.
Step3.
Place the templates on the yoga jacket starting at one upper side and move toward the back. Use pins to keep templates in place. Audition the layout until you are satisfied. Carefully position a target sticker under the crosshair of each template, line up the arrows with target sticker and template crosshair. Remove all templates and keep target stickers in place until ready to embroider.
Step4.
Iron the fusible poly mesh cut away stabilizer to the wrong side of jacket under the area where the target stickers are placed. This will be the only stabilizer used so position properly.
Step5.
Hoop the jacket with the target sticker centered. Select the embroidery design AF13.Position the needle with the target sticker crosshair. Check the orientation of embroidery design.Remove target sticker when perfectly aligned. Lay a piece of water soluble stabilizer on top of fabric and hold place with basting file.
Step6.
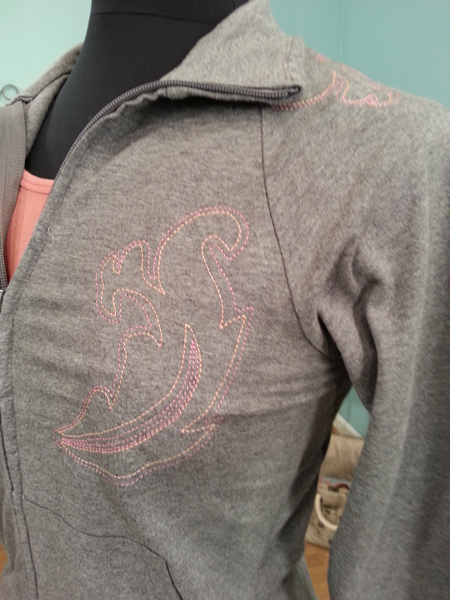
Follow directions for remaining two locations on the jacket. After embroidery is complete, the stabilizer can be partially removed. If you re-iron the fusible stabilizer, the heat of the iron will release the adhesive. Carefully separate the stabilizer from the fabric and trim the excess stabilizer around the design.
Snip the basting stitches from the back of wrong side of jacket and remove the water soluble stabilizer.
For more information visit www.sewcreativeemb.com
Sewing Machine Featured in this Segment:
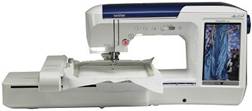
Brother Quattro 3 6750D
|
